Thursday, October 29, 2020

Inkscape

 Once I entered the Cricut world on Facebook and YouTube, I kept hearing about Inkscape. The design software you use with Cricut is good, but has limits. The biggest one being that you save your projects to Cricut's servers--you don't save actual files on your own computer. There is no way to access them outside of Cricut. No way to share them, or sell them (there is a way to share within the Cricut website). If you change brands of cutting machines, you can't access these designs in their software.  If you create something really cool and want to use it in different formats (printed, for example), you're out of luck. It was time to learn Inkscape for myself, and not rely on Hugh for everything. 

I had watched random videos of people using Inkscape to do things with the Cricut. However, without knowing even the most basic things, I was pretty lost. My graphic design experience has been limited to Windows Paint LOL. I was told about TroyTube's tutorials, so I went with them. This link takes you to the playlist of Inkscape tutorials. He has lots of other videos on it too, but I followed these and it was a great progression. Note that he is using an older version of Inkscape. If something doesn't seem to work, take a look at some newer videos that show the difference between the versions.


This wasn't one of his challenges, but I was just playing around using what I had learned.


I was impressed with how easy it was to create this pumpkin. I didn't finish the challenge with the Starbucks logo, but I got the idea of what I was doing.

I would also suggest at this point to watch Crafts by Two's Font Art in Inkscape playlist.  As they are Cricut users, they use fonts differently than other designers might.
I started seeing all these layered designs and I really got interested in them. I found this video and wondered if I could do it in Inkscape. So cool! I'll show more of these layered items in a separate post.


I found TJ Free's YouTube channel and Inkscape tutorial playlist.  It's not geared for the Cricut but goes into more real design elements. There's a lot to go through and you might think "when will I ever use this?" You may never use many of the features, but until you get into doing things, you just won't know. Although you can follow along with the tutorials and do what he's doing, you'll have to use your imagination on how apply it to Cricut designs. 


The first non-Cricut thing I created were these signs for the students and hubby working at home. The one above is for Lucy and is in the Queen's tri-colours, along with a tiny bit of engineering purple.

This one is for Megan.
Then, I really started going hard core graphic designer. Logos by Nick is another great YouTube channel with lots of how-to videos for Inkscape. I followed his tutorial for creating neon text!

From a distance, there's not much too it. Up close though, you can see all the details, the multiple layers, the use of gradients and opacities. 


A quick door sign for the hubby.

Although I don't expect to have many uses for neon text, I wanted to practice a bit more so I solidify what I've learned. I decided to make this, and sneak it onto the desktop computer as a subtle hint for Rob. It worked! New knives as an early anniversary gift. 
This is what it looked like before making it the desktop background. I had to make some changes to the grandients so it would work well with the two rows of text.


Another group of videos I watched was about creating line drawings by tracing pictures. The first try was a picture of Megan, which I haven't finished. I've reached the point where I've got several design projects on the go LOL. At least they don't take up space like knitting and sewing! The house was the cottage we stayed at with the extended family. I just did another one of another house, my brother's first house! This one went much quicker! They love it! I did include their actual address, but I edited it out to post it publicly!


I wanted to create a simple layered poppy (I recently blogged about it, so scroll down). It was hard at first, and then I pretty much started all over because it had gone too far wrong and the "spokes" needed to be thicker. Then I had some real headaches about how to size/scale it in Inkscape so it keeps the right size when it imports into Cricut. Ever since doing the neon exercise, I've been looking at everything I see online, in print, etc with new eyes. I watched a lot of Logos by Nick's videos and so much looked so complicated. Having to start with basic shapes to make anything; layer, duplicate, difference, union.... I look at this poppy and see a circle with four dimples. I started with Inkscape tracing a photo of a plastic poppy. For the second try, I sliced the poppy in half vertically and mirrored it. That gave me some symmetry but I know I need to view it as four lobes. I can't help but divide it by the petals (pie shaped pieces) but from a design perspective, I'm not sure if that works best or if it should be divided vertically and horizontally. When I find some free time (LOL), I will play with it some more. I also just bought some pens to use in the Cricut and realized I could also do this poppy with drawing lines, instead of cutting those fine spokes. 

I highly encourage anyone who uses a Cricut to learn how to do some simple things with Inkscape. Being in charge of your own SVGs is huge. Design Space has a lot of issues, and it is necessary to use it to cut designs, so doing what you can outside of Design Space will give you added security. 


Monday, October 26, 2020

Paper Crafts with the Cricut

After struggling with the logo for my community band, it was time to re-examine what the Cricut can do with paper. With my niece getting her Canadian citizenship, I figured a card was in order.

I was really disappointed to find out that the weekly free images on the Cricut Design Space, are only free for the week--you can't save them and use them later for free! What?! So disappointed! But if you're a bit techy, you can take a screenshot and import it as an image. However, often it's not very "clean" and there's lots of bits to erase and it gets tedious. If you're lucky, and have a child who is also learning graphic design programs, you can send it off to them and they can start fresh and make it all shiny clean for you! Shhhh. My secret! 

My skills have really come along as far as figuring out how to place it on the shape. I used a silver holographic paper behind it instead of plain white. I used all the little heart cut outs as confetti inside the card

I hadn't done anything more with the Draw function and pens, so I took the letters cut out from the envelope and used them inside the card, then we all wrote messages. 

I did know that in order to get the middle of the 'a' to stay, I had to slice a bit out of the letter (or, I learned later, use a font designed to look like stencilled letters). I was able to get the name placed exactly where I wanted it. I didn't line it, but used the back side of the card against this side of the envelope. 

I also needed to make her a birthday card. I wanted something more complex but I don't have a huge stock of cardstock yet (it's improving). I found this design and got going...and then was like...."How do I assemble it--all those little pieces--get them in the right spots?!" I had seen very detailed paper designs on https://www.3dsvg.com/ so I watched a couple videos there. Their designs have little spots cut into them so you can line pieces up. I was going to have to do this card freehand! OMG.

It turned out okay, I did lose one of the P centres so I had to leave both out, and I lost the A centre. When I finished, I wasn't any more enthusiastic about paper crafts. But then. Somehow I found this:

Mandalas and layered 3D designs are a hot item right now! I was surfing around YouTube and came across a video by PattyAnnesPlace. She was making these awesome layered letters, using Inkscape. I can't remember now which came first, me trying Inkscape, or if I started off with this letter. I knew I had to learn how to do things for myself instead of frantic emails to my child. 

It's not easy to see in this photo. I think though that these layered letters need their own post. They were like a gateway drug into more paper crafts LOL. So, this is a little teaser of what's to come!


Wednesday, October 21, 2020

Bottle Labels

 I love making sauces, foods, condiments, etc from scratch. With all the extra time this spring, I started watching a lot of cocktail making videos. At the same time, Lucy was drinking cold brew coffee. She needs simple syrup for that, and I didn't realize how often it's used in cocktail making. I just never seemed to have the right containers for sauces. I found some on Amazaon and got my creative juices flowing!

Some of the first sauces--had to use the Brother label maker. Yawn.  Once I felt comfortable with the Cricut, I got started on making some with Oracal 651 permanent vinyl. 

Honey syrup! I made the yellow as little pieces, layered on all together. Next time, I'd make the whole body yellow and lay the black over it. I didn't know about creating a base layer.

Not a sauce or syrup, but had to fancy up my water bottle. It says "It's just water...I swear"


I learned how to make sour mix! Again, I made this with the black going over the yellow. I should have made the black base and have the face cut out of the yellow so the black shows

I had a hard time finding a free image for this. It's been through the dishwasher a few times, and only the tip of the single garlic clove is having issues, but it did right when I put it on.

I had seen videos where people made car decals out of their Bitmoji images. Fun! When I first tried, I couldn't get the bottom of my glasses and the teeth thin enough. I sent it to Hugh and he fixed it up. My name is spelled as how I write it for the kids when I work "Mrs Man-a-ring".

I made some blueberry sauce. No real reason, except I had some blueberries no one was eating. It's kind of too lumpy for cocktails but it's really nice on ice cream, yoghurt, peaches.  I almost made it in blue but then realized blue on blue wasn't smart.

I had bought a huge bottle of Thai Sweet Chili sauce from Costco.  It was so annoying. As soon as it got low enough, I put it in this jar (16oz).  Some of the letters slid around. Don't know if it hadn't dried enough before I stuck the label on, or what. This also happened with a bottlle I used cheap dollar store vinyl on. 


Saturday, October 17, 2020

Simple Layered Poppy

In Canada (and other Commonwealth countries), Remembrance Day is observed on November 11. It is a solemn occasion; often with cold, dreary weather appropriate to the seriousness of the day. To show our gratitude and thankfulness, Canadians wear a poppy on their left upper chest. We acquire these each year through donation boxes at work, stores, or volunteers at stores and events (such as veterans or young cadets, or other Royal Canadian Legion members. The RCL is a network of community centres for veterans). We are expected to donate each year to receive a new poppy. They are notorious for silently disappearing from our coats and shirts, and for sticking young children with the straight pins. Schools usually receive poppies to hand out but I don't know if they take donations. They also have had stickers in the past few years.

Poppies are a symbol of remembrance. They aren't intended to be used as decoration, except as applicable in events of remembrance.  Poppy items are not to be sold for profit in any way. When you get a poppy through the Legion, you are not "buying" the poppy; you are donating to the Legion and the poppy is a token of appreciation. I strongly urge you to donate to your local Legion, or other veteran's centre if you make poppies with this file. I will be.  If you see someone selling items on Etsy, or elsewhere, advertising that they are "donating $1 for every item sold" or "donating a set amount of profits", please be cautious and consider making your own donation directly to the Legion. 

I created this simple layered poppy after some members in a Facebook Cricut group expressed an interest. Many were British, and I don't know if they have different standards about the poppy there. I had made a few layered designs and really enjoyed them, and wanted to try designing my own.  Using a poppy shape was a way to get me to actually do it, instead of saying "some day". It wasn't about making a fabulous poppy; it was about learning to design.  In some aspects, it's not too hard, but some parts were annoyingly challenging (getting it to import the right size into Design Space). 

This poppy is intended to be made at 1.9" across (and high), the same size as a lapel poppy.  It should import into your cutting program (Design Space, etc) at that size, but I am new at this and had some issues.

Layered paper is obviously not suitable to be worn, though it could be laminated. It could be made in vinyl to make a sticker. That would be good for people with special needs or children who might struggle with the use and safety of a pin. Sometimes you want a poppy but the plastic ones with a pin aren't suitable. Some people are against the waste and non-renewable resources used in plastic poppies. The design could also be made larger for other uses. You can also cut just the solid red piece and the black piece for a more basic poppy. This would be good for teachers who are having their students make wreaths or items for ceremonies. 

The poppy has 3 red layers, though I cut mine with the top 12 spoke layer in the same red as the solid bottom layer. The middle 4 spoke layer is in a darker red. Each layer is smaller by only a very tiny amount! It's intended to add a bit of depth, a shadow effect. You could skip the 4 spoke layer as they are tricky to line up accurately.

I cut the top layer using Intricate Cuts for Cardstock (Cricut Design Space, using the Maker). The design is not symmetrical, so I recommend you carefully lay the pieces out with the same orientation as they come off the mats. I am very much still a beginner at designing and using Inkscape! I used spray adhesive, no foam dots to make the layers elevated. I also curled the edges under a little, around the dental pick I use for weeding vinyl, and pressed the middle inwards. It's hard to make paper replicate what plastic can do when it's being molded while hot. 

Poppy SVG

Please share with me if you make this poppy. You can email me at tracykm at yahoo dot com, or find me in various Facebook groups (as Tracy Kyla). I'm also on Instagram at tracykmvetzal. You can also comment here. And again, do not sell items made with this poppy.

Edited to add:

I made a large poppy for my front door. Sized for 8.5"x11" cardstock.

I taped some red ribbon to the back, with painters tape.

To add to the middle, I took the black piece, enlarged it slightly and cut it in green (Canadian poppies used to have green centres). Then, on the black piece, I centered the text, and sliced it out of the black, and cut it out. I nearly lost the inners of the 'e' letters. Before taking it off the mat, I made sure the inner bits were in place, then placed painters tape over. I carefully pulled it off the mat. Then I turned it over and weeded out the letters.  Then I used spray adhesive and sprayed it well. I placed it down over the green and burnished it well. I carefully peeled off the painter's tape, making sure the little inner bits were in place still. 


At this size, it was a bit easier to line things up but I still managed to turn a layer over or something and had to spend some time making sure everything was lined up. I'm working on fixing the design so it's symmetrical. I used  two colours of red

I've been wanting to do more with pens in the Cricut. I got some Staedtler Triplus fineliner porous point pens, 0.3mm because Jennifer Maker shows them working in a video. However, they kept popping out. I wrapped it in painters tape and it stayed put. I re-worked the file so it would have draw lines. I felt that the 0.3mm tips were too fine for what I wanted (a thick line around the outside and four spokes), so I bought some Crayolas Super Tips because I had read they work. Well, they're too big for the Maker (they apparently fit in the Explore Air 2). I think they will work if you take out the inner piece. So, I ended up using the Triplus and colouring in myself.
Because it's not three layers with glue, I was able to shape it more, indenting between the lobes and curling the edges back. I taped a safety pin to the back.

Lest We Forget

Friday, October 16, 2020

More Yarn

 I'd been working on a blanket with the neon brights yarn I bought while at the cottage in August. Although I had made other blankets with less than 454gr (1 pound) of worsted weight yarn, this time, it didn't seem like it was going to happen. 

Don't you hate it when you cut yourself right where you carry the yarn?

It looks a little funny down at my feet. You'll see why when the blanket is finished.

I really didn't want to rip this out. The gauge was fine, I was only an inch too wide, which wouldn't have given me enough yarn to make up the length I still needed. 
I remembered in a Canadian crochet group on Facebook that a few people had bought yarn from Cambridge Fibres, the company that puts together these mill end bags. So I googled, and sent them a Facebook message explaining my plight, and do they have any of this yarn left. 

Yes! They made me a deal. They suggested I get more yarn to make the shipping a better deal and asked how much I wanted to spend. I said I'd be fine spending up to $25. They sent me a picture of a couple different options, I picked two, and a few days later, all this colourful goodness became mine!

Yarn In:  5115gr + 1362gr = 6477gr
Yarn Out:  8915gr
Balance: 2438gr gr more OUT than in!
Costs:  $25 + $115.68 = $140.68/290 days = $0.48 per day


Friday, October 09, 2020

Getting the Family In On It

I have had an idea for a "personal logo" for awhile but Pinterest and Google searches hadn't revealed the right thing. I want this to create business cards for supply (substitute) teaching, but also for personal use. Something that would represent me, on a business and personal level. I can't separate them! Once I got the Cricut, I knew it had to be created. Co-incidentally, Hugh was learning graphic design programs. I'm sure he could help me out!


I found a treble clef image. Just finding a realistic, classical treble clef was a challenge. Then I had to find a compass rose. Something bold but not modern, classic but not fussy. 


Done! Sent them off to the wonder child, and waited. Like, seriously, only 30 minutes. And then this appeared in my in box!


Like, how the heck did he do that?! I think this was the second version though--I had him add the N and make the points extend into the treble clef.

However, when I took it into Design Space, it wasn't looking right. The compass got thick.  I tried playing around with it

I got it broken down into it's parts, but the compass had a white background instead of transparent. 


And to make it fit in the clef, it goes over the inner swirl. When I go to cut it out though, I need that overlap gone, and I need the background transparent. I couldn't figure it out in Design Space, and I didn't want to harass my child again. He was still in the early stages of learning Illustrator. The original design he sent looks fine as a print image, it's just not ready for cutting and he's not familiar with what a Cricut does, and doesn't live here, so it gets complicated trying to explain. We'll come back to it later. 
Next up was this Canadian Bingo. I saw it in a group and thought it'd be fun for my niece who is a new Canadian. I didn't really like the title font though and I needed it in a format I could use. I tried in Word, using a table, but it was pathetic. Enter Hugh the Hero:

It's a little challenging to see, but the maple leaves are a few shades of red. There's a deer head at the top.  I printed on regular paper, but it was kind of washed out. Rob suggested printing on photo paper, so I did, and it looked much better. Megan helped me pick out a frame, and Rob cleaned it and assembled it. 

The next thing (actually started earlier) was the logo for the community band I'm in. I want to be able to make bumper stickers.


There's a lot of detail that just doesn't work for cutting out in vinyl. A couple years ago Hugh re-did the design so it could be embroidered on to shirts. It's mainly the blue and yellow inner, with a black outline and a silver banner but not the bottom banner (I think....not going to go check).

I had to do some disassembling. I notice the top of the shield is a bit jagged.

The different parts of blue (and yellow, etc) had to get "attached" so they would cut like that, instead of individual parts. 

There was something about the letters...I decided I wanted the black on top so I welded the shapes over the letters because I couldn't "contour" them for some reason. 

I learned about registration marks, and used them. I learned about layering with parchment paper, and did that. But the black outline was too thin and there was a black cross to divide the segments but it was also way too thin. It easily got skewed. I had issues with getting the text off the backing. One thing after another. I ended up putting this on the inside of my work binder, but it's textured so the tiny letters don't really stick. Rob tried to tell me to make the whole thing black and put the parts on top, but I was frustrated and didn't really understand. After some more videos and projects, I clued in. I re-worked it so the silver also includes the shield. Then there's a solid black layer, and then the 4 segments on top. The letters...I can't remember...I think they are cut out of the colours so the black shows.  I haven't tried re-cutting it yet. 

Megan figure skates, as evident in many blog posts. I thought I could easily whip up her club logo into a file to make bumper stickers, water bottle labels, etc. Just follow the videos! It started out fine but I ran into troubles so Hugh rescued me again. I don't understand how a 3 colour image could be so difficult. A big issue was the quality of the initial image. Neither of us could find a good one. In the end, this one should work. On the water bottles the club handed out, it's just one colour--the blue, and the rest is transparent. Boring! But easiest when mass producing.

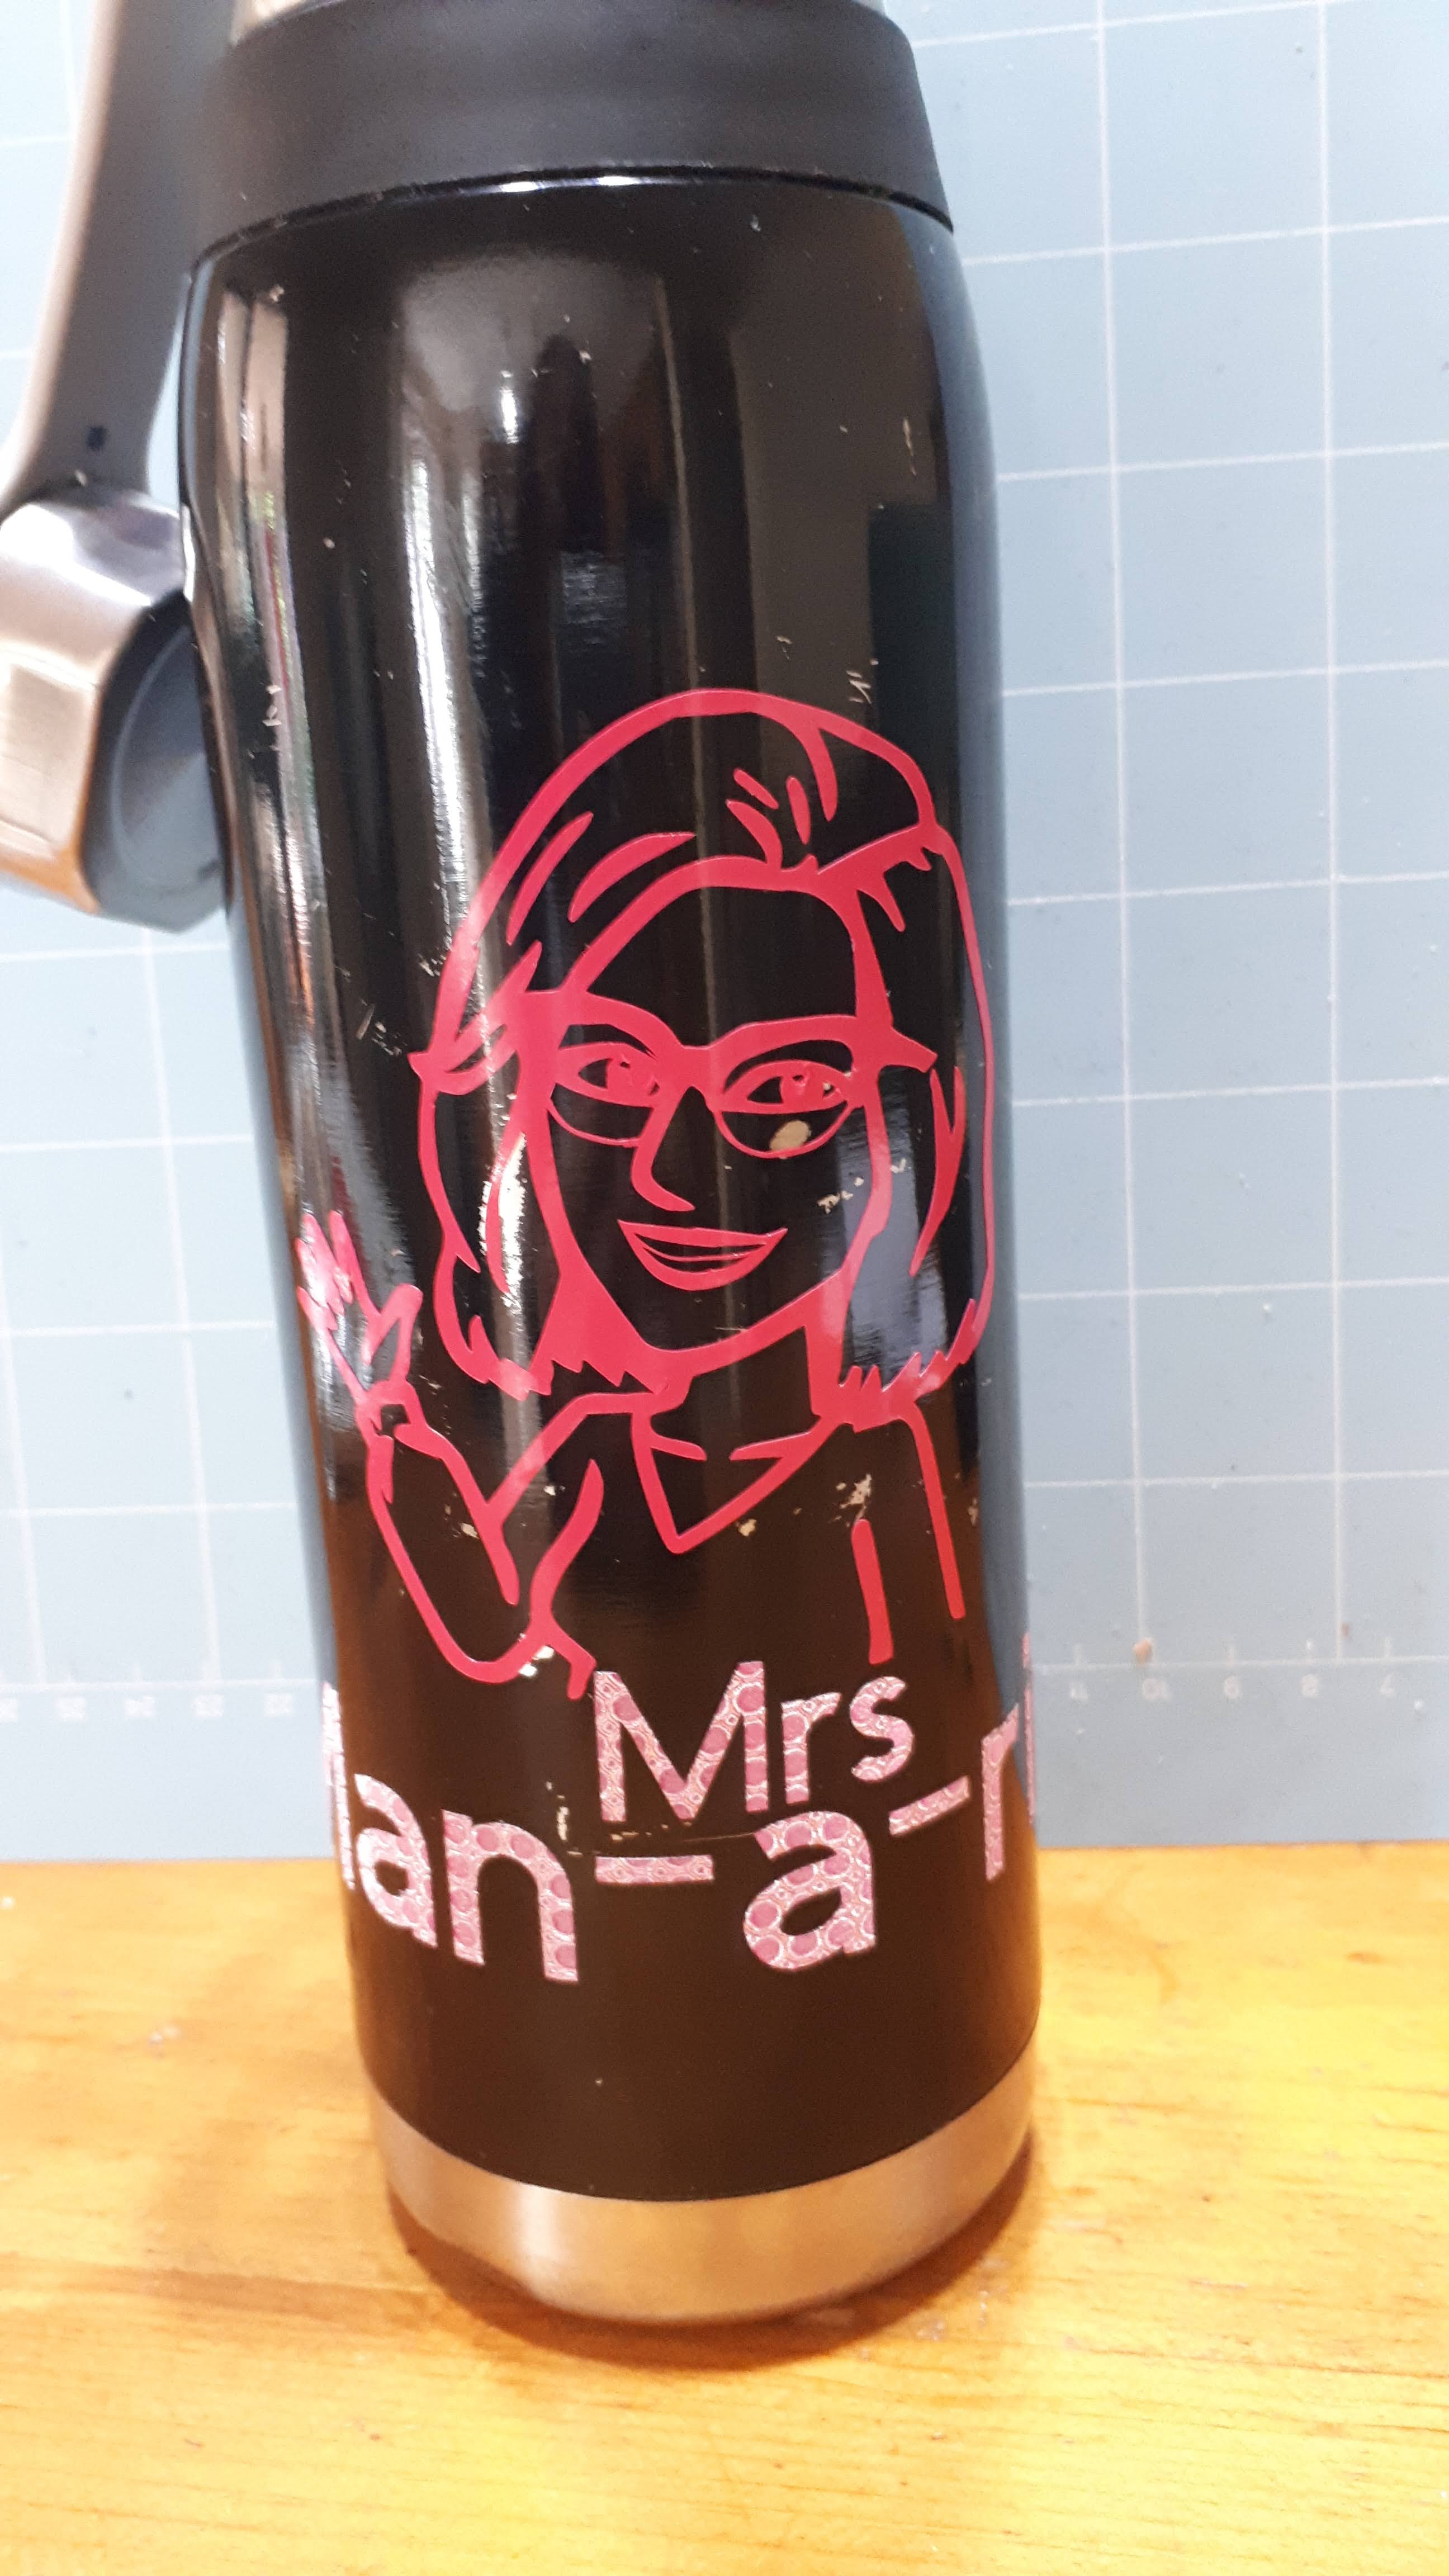
Next up---a Bitmoji image! I saw several videos on how to do this! It was going really well, but I had issues with my mouth and the thin line of the bottom of my glasses. Hugh fixed it and wow! It's adorable! I love it! I put my name as how it's pronounced. This makes it harder for students to search for me on social media LOL. I put it on my old bottle as a test. I haven't gotten around to putting it anywhere else, but I think my truck needs one. 

Up next will be more projects I did without help LOL. I think I got ahead of myself with the band logo and I needed to step back. I got more into learning Inkscape, and doing some paper projects.