I can't believe it's March.
I have been knitting--we've had several road trips to the kids' university/colleges, my mom's place, etc. But nothing has gotten finished.
I had some sort of reaction to a scarf that I made a year (?) ago. It's mainly wool (I think), and I had started using a retinol product, and always made sure to do my neck. I broke out in a rash...weirdly, I had been using the product for a month, and I'd been using the scarf for a couple months, so I don't know what happened. I stopped both, and have now restarted the retinol with no issue. I haven't worn the scarf again. It's a fairly rough wool.
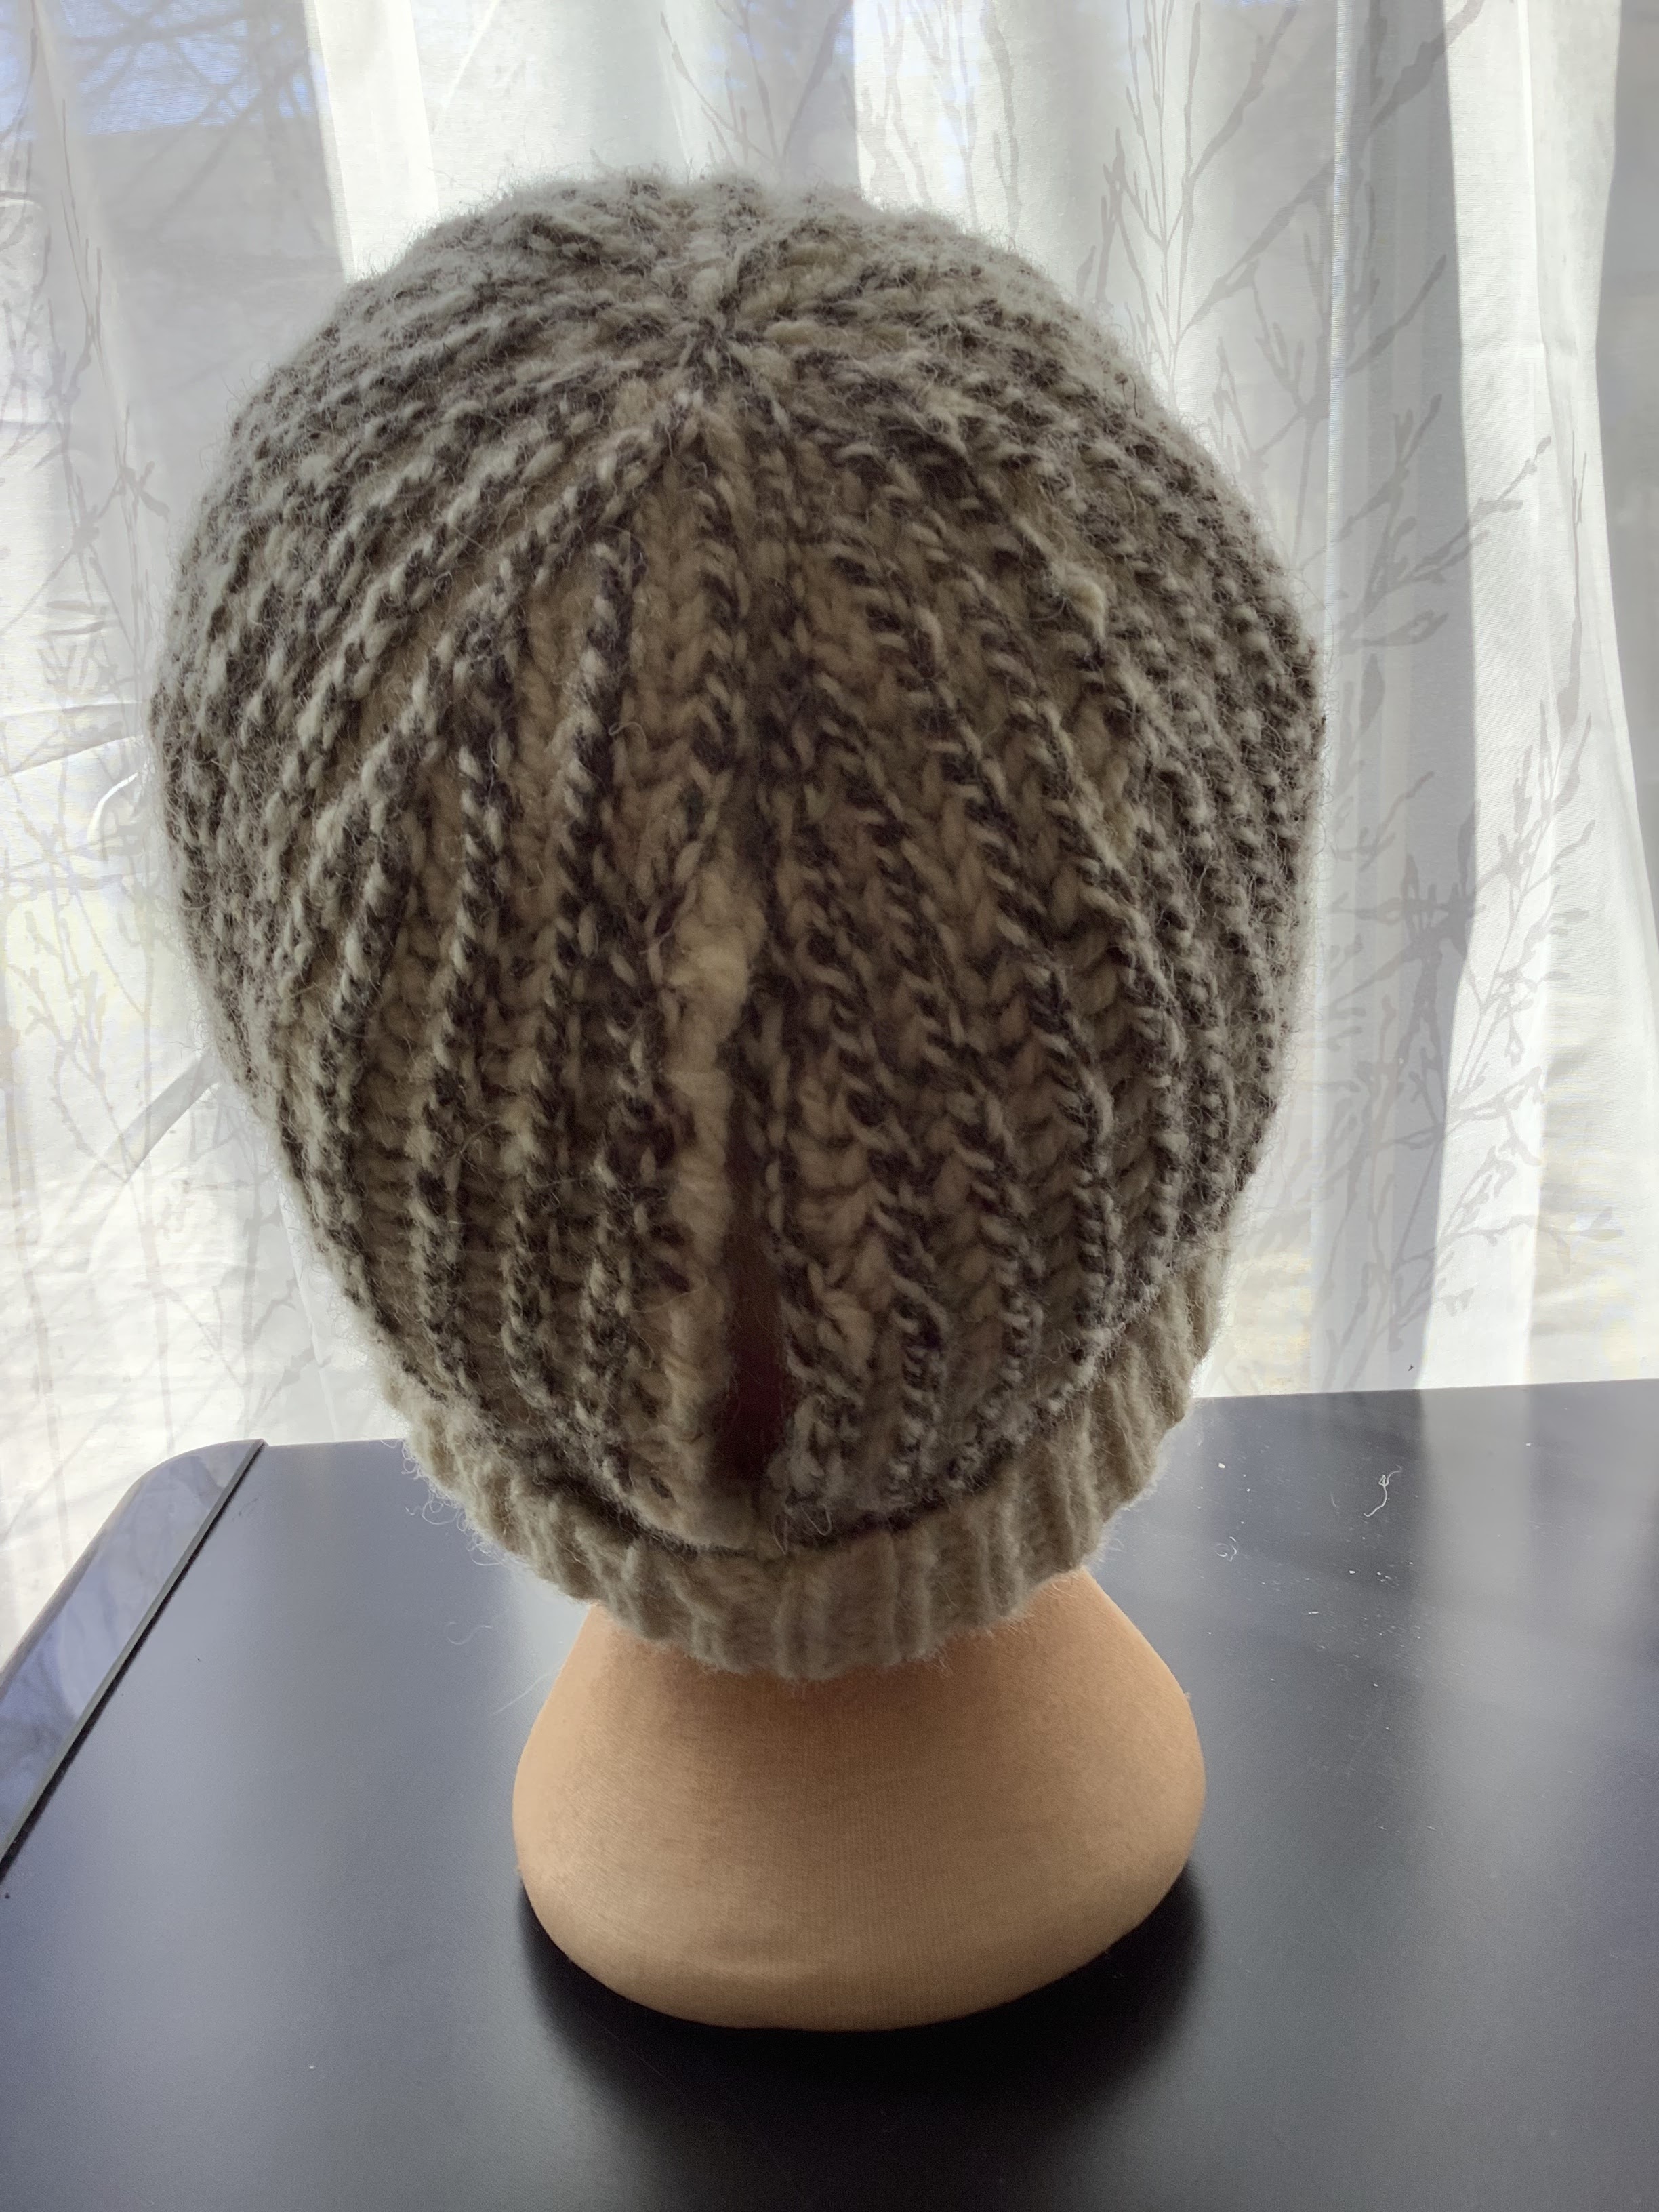
I have been working on brioche mittens to match the hat I made myself, but every time I knit them (in the truck), I get congested. The hat makes my forehead itch. Sigh. I've become very tender in my old age.
Anyway.
This school year, I was hired as a 0.5 LTO position--mornings only, teaching music from grades 4-8 at the school I accidentally worked full time at last year. In January, I was asked to also work the afternoons, teaching math and science to grade 7/8. The science was no problem, but I can not do math. It was supposed to be a week. They tried to find a teacher to replace another teacher so she could do this job, but there were no applicants. So the teacher that was the afternoon 0.5 LTO (the other half of my position--neither of us could do the whole position), was going to take over, but they had to find someone to take over her English classes. I ended up spending all of January teaching math and science. Often, another teacher would come in to do the math while I covered their class. However, the kids were a challenge to start with, and got worse as the month went on (mainly one class). I had an actual, on the ground, fist fight break out near the end of January. So I said that was it, Jan 31. I'm back to half days, with a few afternoons also supplying. Behaviours have gotten terrible. It's sad.
Then, just before the long weekend in Feb (like, Feb 15?) I found out the teacher I was replacing, was going to come back early!! WTF?! I had planned the entire year, with projects that build upon what they learned. I was learning digital composition to teach them! The original teacher is more old school--paper and pencil, listening logs to boring songs. She's been on a return to work program, so she's been coming in every other morning for two weeks, but not in the classrooms yet. She'll start that soon, observing, helping with small groups, etc. I told two of the grade 7/8 classes today, and many were almost as upset as me. I was really looking forward to "graduating them" since I've known them for 4 or so years. Other intermediate teachers only know them 2 years; I got to know them earlier because of being a supply teacher.
I had been thinking of opening a Teachers Pay Teachers store this summer, but I'm going to start early. It sounds like my last day of this position will be March 22. We have a week off after next week. The store will be called Stay Musical. I have started a blog and can be found on Twitter with the same name as the blog (OntTeacherTracy). On Instagram, I am www.instagram.com/staymusical_ I'm not giving up on this blog, but considering how little I knit, there might not be a lot of posts. It's been an awesome 18 years!