Then all of a sudden things picked up and I hit 225 by March, less than 25% through the year. I hit 250 before I was 50% through the year. I hit 300 in October, I think. I was so busy I couldn't get to the 300 Like Giveaway till mid-November, with the choice between a cupholder mitten or a Pocket Buddy. On November 18, Meg picked a name from a hat and the winner turned out to be the sister of one of the photographers who's bought from me a lot. She had already received the two beige Pocket Bunnies, but thought a Pocket Unicorn would be a nice gift for her daughter who had a larger unicorn and needed a baby.

Sure! I was already working on the purple Pocket Bunnies and about to start the Pocket Dalmatian, and had the two Toothless stuffies to make...it had to wait a bit. I felt bad, but a free reward just couldn't take precedence over existing, paying, orders. And there was the question of the unicorn design. A lot of questions. White, obviously. Gold horn. Standing like a horse, or floppy like the bunnies? Standing was the answer. Ooohh. Lots of time on Ravelry. There are not too many standing, small, knit, unicorn patterns. I wanted the perfect blend between realism and cutesy. I realized after making the Dalmatian, that perhaps one of the dog patterns would work well, with some head modifications.
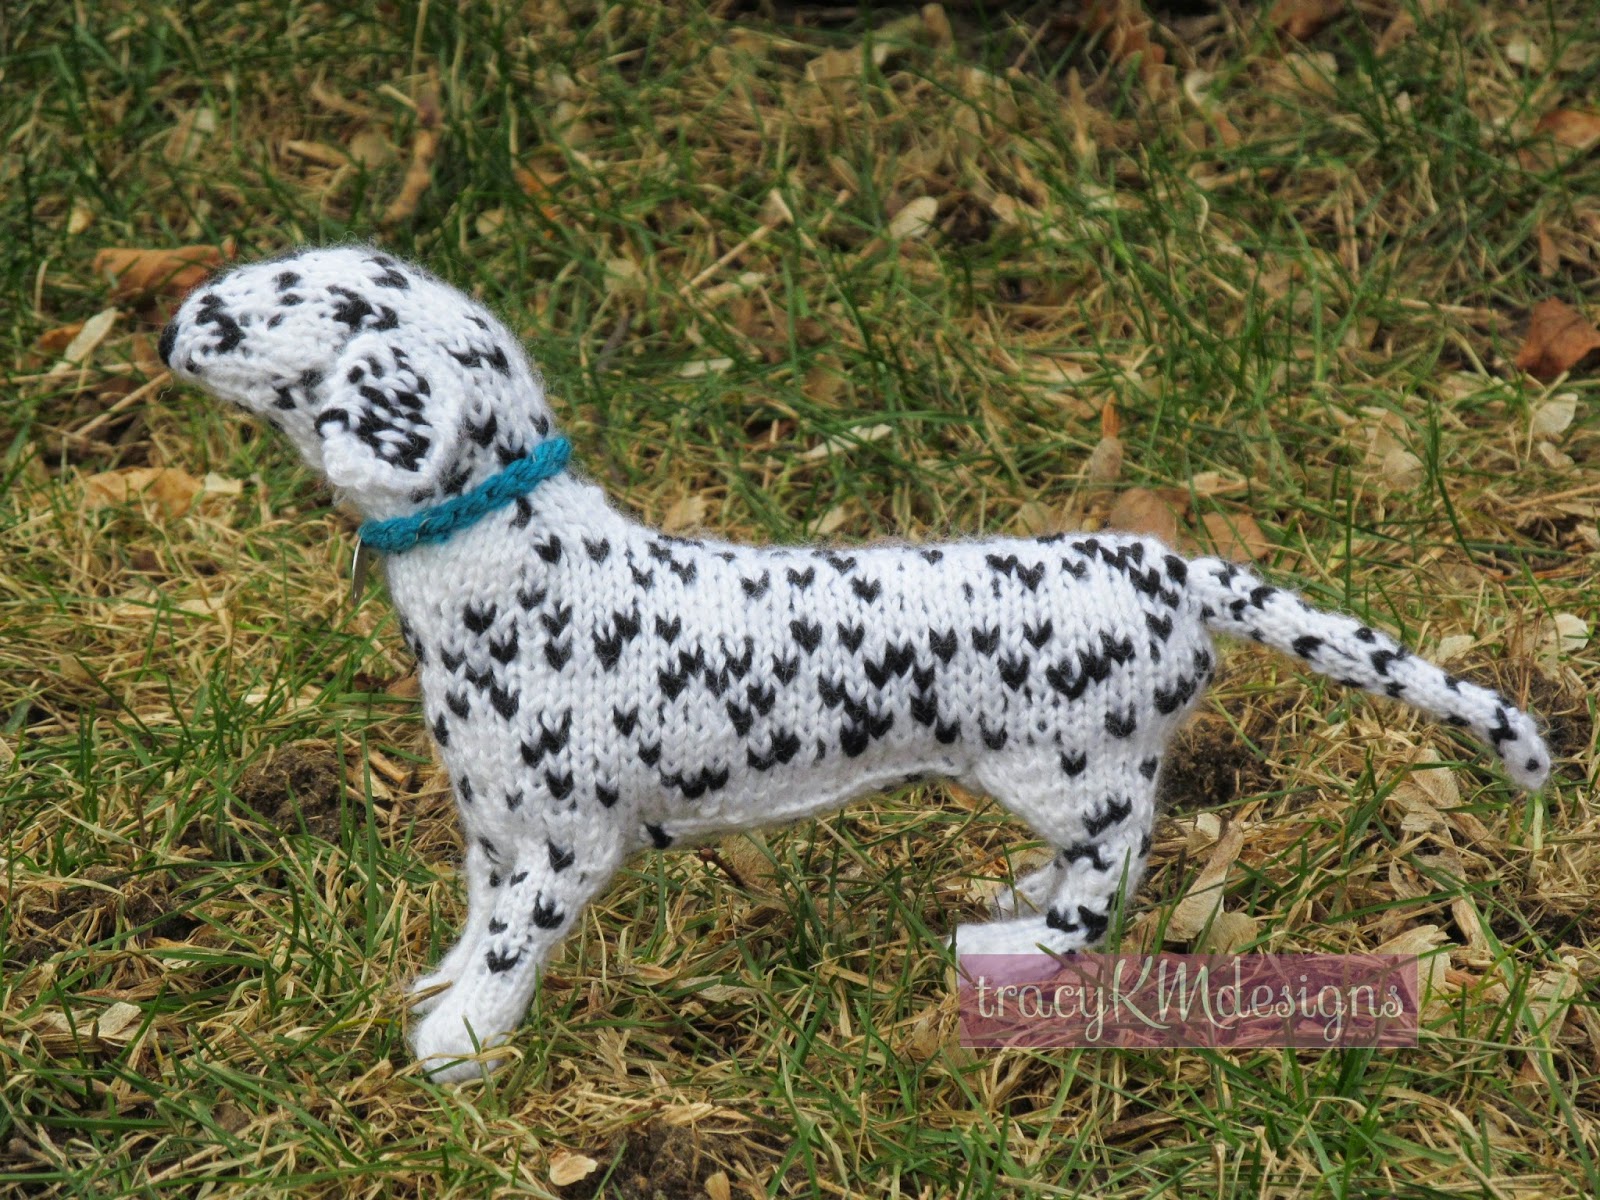
I used the same pattern, which was actually for the German Short Haired Pointer. It starts with the back legs, which I knit in the round, and lengthened a bit. Then, you knit the front legs. Then one side of the body, then the other side of the body. Then you join at the nape of the neck, and work the neck (back and forth--there is a chest/tummy piece done separately. I worked on the neck and onto the head. Then I left the snout on a holder and worked on the belly. Then I grafted the top of the back together and propped him up to take a look.

Mmmm.
Those front legs look a little short compared to the back legs (the pattern did have them be a few rows short). He appeared rather goat-like, not majestic unicorn-like.

I pouted for a bit. I did not want to rip out everything I had done, even if it had just been a day and evening's work. He would need two frontal leg amputations, followed by a double leg lengthening procedure and reattachment. Work not for the faint of heart.


.jpg "Pocket Unicorn TracyKM Designs 2015")
The head was interesting. I reknit it several times. I sewed the tummy/chest panel on, so I could work a bit of one, then the other. The snout was too long, the skull too big, the snout was too short, too wide...etc. In the end, I think it could have been a row longer, but sometimes, you just have to let go.
.jpg "Pocket Unicorn TracyKM Designs 2015")
I wasn't sure how to attach the tail. There was a seam up the bum and I thought I could knot the pieces and have them come through the seam...but how to ensure that they didn't pull back in? I ended up just knotting in the seam. Each strand had to have both ends knotted as well, so the gold filament in the yarn didn't unravel.
.jpg "Pocket Unicorn TracyKM Designs 2015")
The mane was a simpler issue, I just knotted, or did a ....you know the simple knot where you fold your strand in half around a rod or tree branch, and feed the two ends back through? Yeah. I did the mane like that. One column of stitches from the top of the head to the bottom of the neck. That wasn't very thick, so I did a column on either side, but only every other row, alternating one side to the other. Then I did a dab of Fray Check over each of the knots.
.jpg "Pocket Unicorn TracyKM Designs 2015")
.jpg "Pocket Unicorn TracyKM Designs 2015")
Little ears took a few tries, but turned out nice. The horn came almost last. Tiny, tiny spiral, crocheted. I had to stitch a crochet hook in it to keep it's shape as I crocheted around it, or it would roll inwards and I couldn't find the stitches. I changed hooks as I went up, and then decreased a few stitches too. Finicky, but very important! Then came the eyes, finishing touch.
.JPG "Pocket Unicorn TracyKM Designs 2015")
WB.jpg "Pocket Unicorn TracyKM Designs 2015")
It was so nice to finish this finally. Just over two months from when we made the draw. If Christmas hadn't happened in there, it might have gone quicker. The scale says the finished guy weighs 70gr, but that includes the stuffing and pipecleaners. There were a LOT of ends that got trimmed off, many I used to stuff him. I don't think he'll be a regular offering, but then again, now that I have the kinks worked out, I wouldn't object to doing it again. I used one strand of Patons "Sequin Lace" and one strand of the Georga's BeBe that I had used for the Dalmatian. And the smallest size needle in the KnitPick's interchangeable needle kit.
Yarn In: 500gr
Yarn Out: 70gr + 944gr = 1014gr
Balance: 514gr more USED than bought
Costs: $21.19/26 days = $0.82/day
No comments:
Post a Comment