Then I started seeing in Facebook sewing groups that people were taking a waistband from a leggings pattern and taking off the waistband from low rise jeans, and using the legging's waistband. In the group "Patterns for Pirates" (not their business page, but their group page), you can get a free download of hacks for their leggings pattern. One of the items is a wide "contoured" waistband. It's kind of like a maternity panel. It's high, more on the front, and the sides are slightly tapered because it's supposed to sit up at the natural waist which is narrower than where low rise jeans sit (which is why they so often fall down). I knew this would be the fix.
It took awhile to get around to doing this, mainly because of the lack of a printer, and just so many other projects. Totally regret not getting to it sooner! First step, take off the old waist band. I was dismayed by the fading!!

I decided that I would fix the fake pockets and make them into real pockets. Why do they do this? I found an awesome video on doing this. https://www.youtube.com/watch?v=9e-pK8Bul50&t=2s Two big take aways--use a slippery fabric, and make them LONG! You know how much it sucks when you have your phone in your front pocket and you sit down and it pops out? Make the pocket long enough the phone sits on your thigh!!

I left the little "coin pocket" (I think that's what it's called).

I used some green athletic jersey left over from a pair of Rob's boxers.

I laid the phone down and traced around it, adding some ease and seam allowance. I followed the curve of the pocket's old facing.

Pin and sew carefully. This is easier than in the video because there's no waistband

Stitched to the facing. I did have some issues with getting it to line up properly. I was probably not being very accurate. Just fudged it a lot LOL

Top stitched to the outer pant, following the existing top stitching. I actually had a pretty good match for the thread. Again, much easier to do with no waist band.

For the waistband, I took this old bright green t-shirt I had that was getting old. It was 95-5 Cotton-lycra. This is the outer portion of the two layer band. For the inner layer, I used the pocket fabric. I was a little disappointed to notice that after I cut the front outer piece, that there was a tiny hole, and a tiny stain right at the centre front, somewhat low (not that I ever intend to have the band show, but sometimes you have to raise your hands up.
I didn't take any pictures of constructing the waistband, but I did add clear elastic to the top seam.
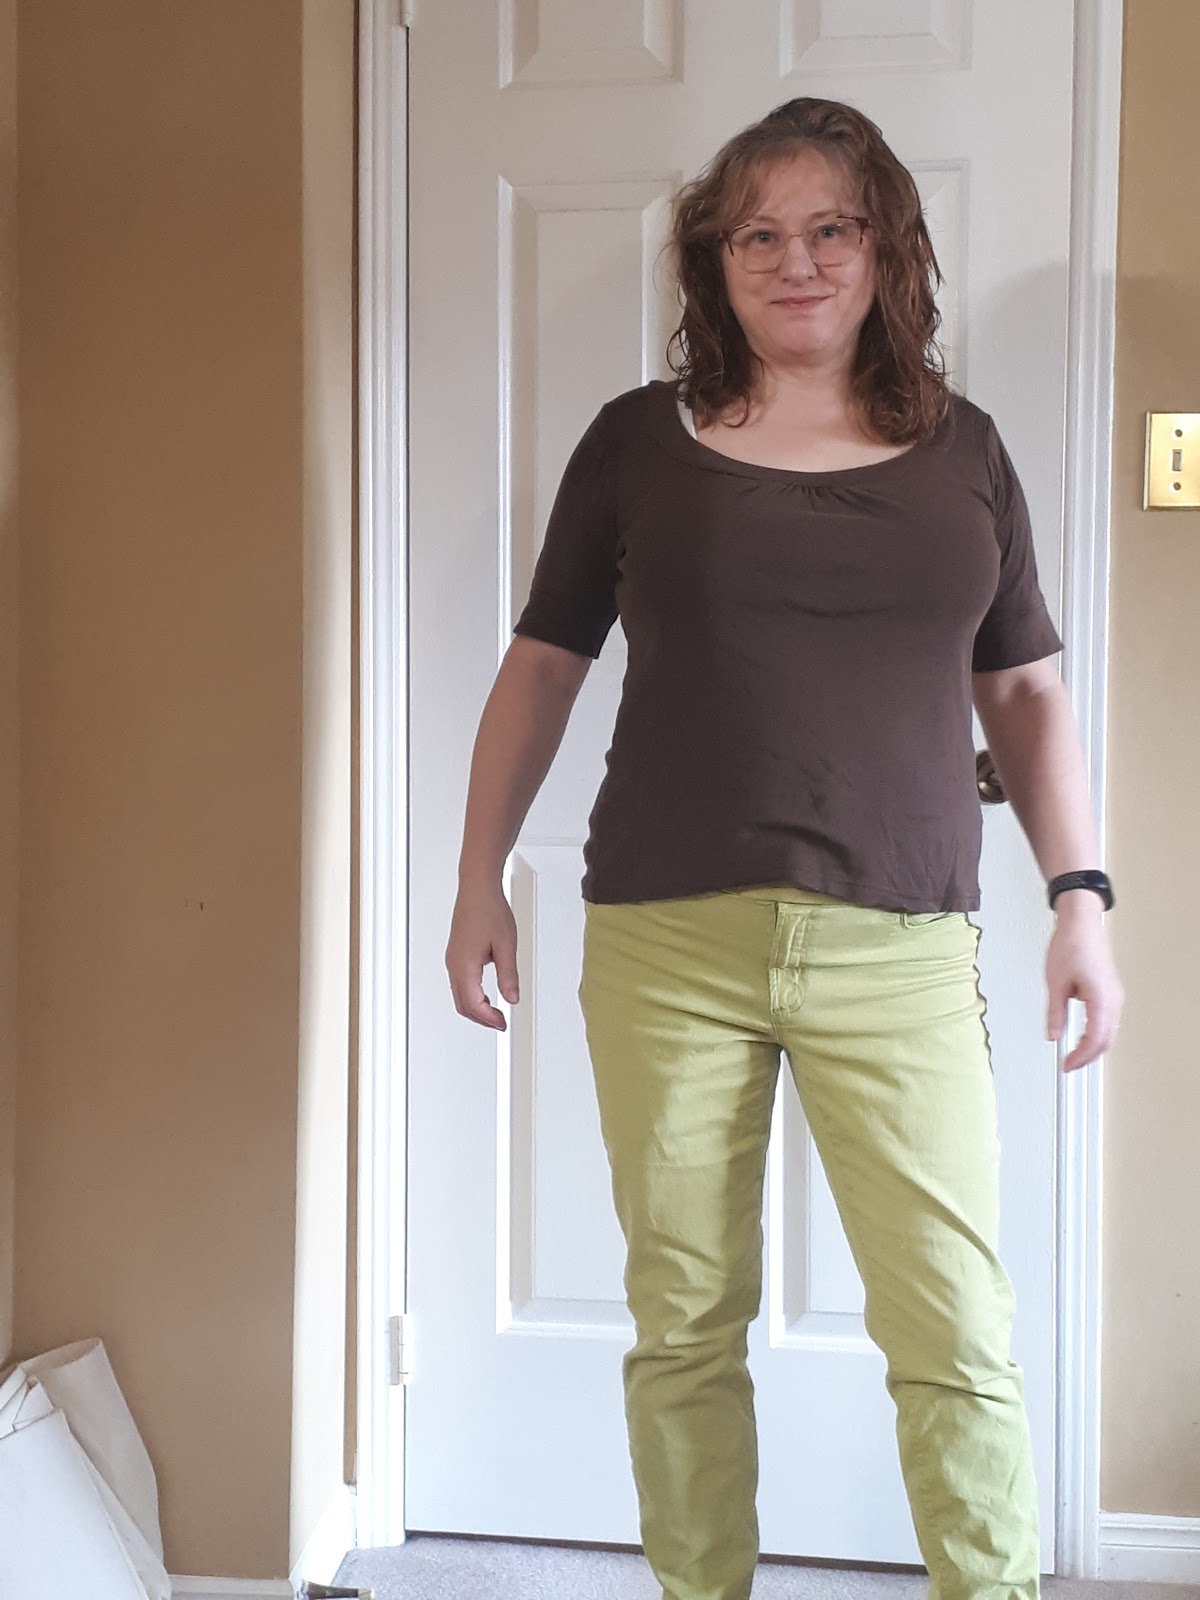
So happy!! I love wearing these pants when it's grey outside. They really cheer people up. I often get people telling me they love them.

They always fit in the back, but with my belly, the front was always an issue

See how the band comes up to my natural waist? So much better.
I did have some issues, of course. They weren't staying up! I seam ripped them off, at a side seam, not all the way around, and took in the side seam about 2 inches. Tried them for a couple days. Better, but they didn't hold up to gardening. I seam ripped the entire back side and sewed in regular elastic to the top seam of the band, over the back section, and also took in the other side seam by 2". This has made a huge difference. Don't bother with clear elastic for these.
No comments:
Post a Comment